Embroidered patches for clothing offer a quick and versatile way to customize, repair, or personalize your wardrobe. This guide highlights the building blocks—starting with materials for embroidered patches—so you can choose bases like twill, canvas, denim, or leather with confidence. We also compare patch embroidery methods, from efficient machine work to the artisanal touch of hand stitching, to match your timeline and budget. You’ll find practical tips on how to apply patches, how to care for embroidered patches, and even DIY embroidered patches ideas for personal projects. Whether you’re reviving a favorite jacket or launching a mini line of branded embellishments, patches can be durable, stylish, and easy to scale.
To frame the topic from another angle, think in terms of sewn insignias, fabric embellishments, or applique badges that decorate garments with equal impact. From an LSI perspective, related terms such as fabric emblems, embroidered badges, and decorative patches help connect ideas about backing options, edge finishes, and stitching techniques. Together, these synonyms guide readers toward the same practical knowledge—how to choose materials, apply patches, and preserve their appearance over time—without relying on a single keyword.
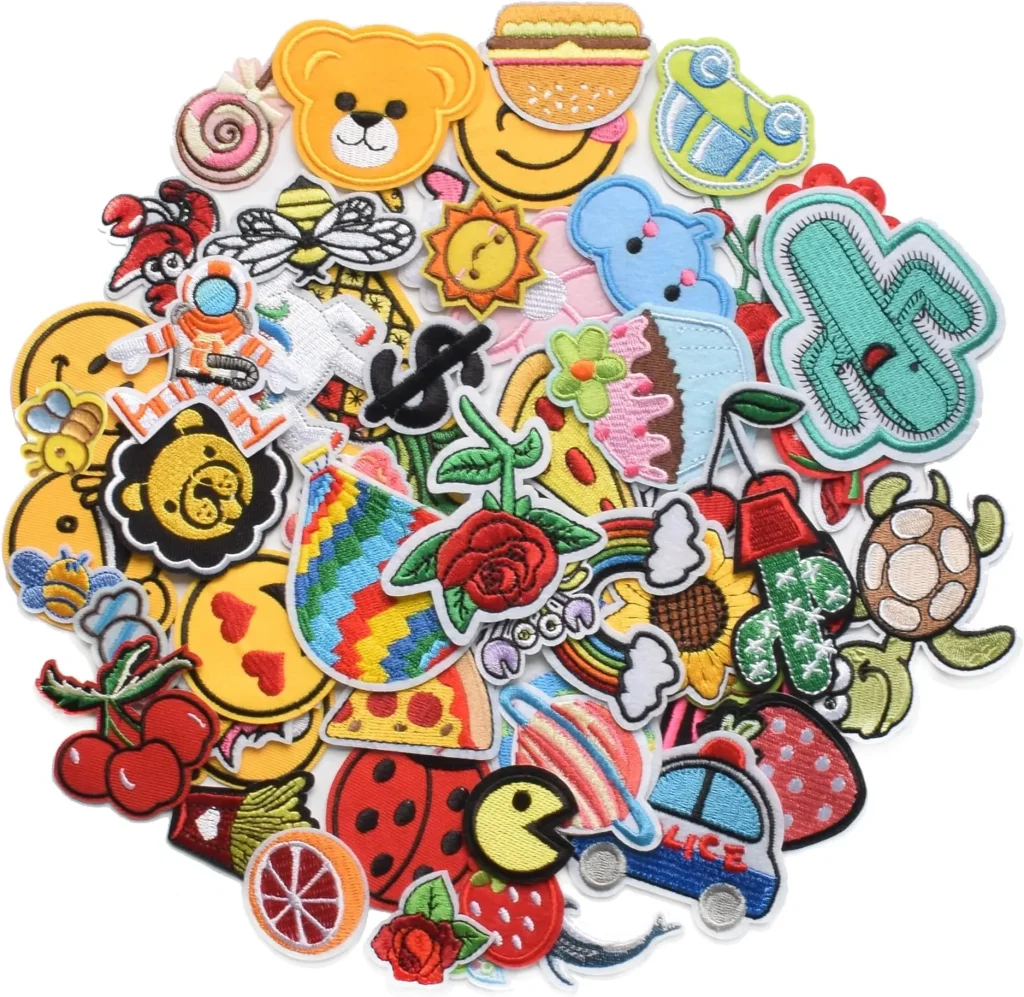
Embroidered patches for clothing: Choosing the right materials and base for durable customization
Embroidered patches for clothing often begin with selecting the right materials for embroidered patches. A sturdy base such as twill canvas denim or leather influences durability and embroidery quality. The base also determines how the patch sits on jeans jackets or tees and interacts with backing and stabilization to prevent puckering.
Choosing the right backing and stabilizers is also key. Iron on backs offer quick application, while sew on backs provide extra security for frequent washing. Stabilizers help the machine stitch ride smoothly on curved or thin fabrics, reducing distortion and edge fray, especially on dense or large designs.
Patch embroidery methods: machine vs hand approaches for scalable vs bespoke designs
Patch embroidery methods fall into two broad paths machine embroidery and hand embroidery. Machine embroidery gives consistent density and fast production for many patches with the same motif. It handles fills outlines and text with precision across many patches.
Hand embroidery offers tactile texture and a personal touch for bespoke patches or small runs. The choice between methods depends on design complexity, production scale, and budget, as well as how durable the stitching will be after washing.
How to apply patches: iron-on, sew-on, and adhesive-backed options explained
How to apply patches describes three common methods for attaching patches to garments. Iron on patches rely on heat activated adhesive that bonds to fabric when pressed with a hot iron. They work best on heat tolerant fabrics and in quick turn projects.
Seam securing patches by sewing provides the most durable finish. Sew on patches are stitched along the border using a tight satin or zigzag stitch. For stretch fabrics a stretch stitch can be used to allow movement while keeping the edge intact. Adhesive backed patches offer temporary adhesion for crafts or demonstration pieces but are less durable on daily wear.
Care for embroidered patches: washing drying and long term maintenance
Care for embroidered patches matters to extend life on clothing. Turn the garment inside out before washing to minimize abrasion and color fade. Use cool or warm water and a gentle cycle to reduce stitch fatigue and preserve the design.
Drying should be on a low heat setting or air drying. Do not tumble dry on high heat as heat can degrade glue backed patches or loose stitches. When ironing over patches use low heat and place a thin cloth between the iron and patch to protect the embroidery.
DIY embroidered patches getting started with beginner projects and materials
DIY embroidered patches offer a creative entry point for color palettes textures and motifs. Start with simple shapes and a limited color set to build confidence before layering textures or free stitching.
Gather essential supplies such as fabric scraps stabilizers needles and embroidery threads. As you grow you can explore additional fabrics backing types and edge finishes to create patches that stand out in a crowd.
Choosing backing and edge finishes for professional looking patches
Choosing backing and edge finishes affects durability and aesthetics. A merrow border provides a clean strong edge that resists fraying and improves wash performance.
Backings such as iron on sew on or heat activated tape require matching the garment and care plan. Stabilizers and proper stitch density help preserve the patch on curved surfaces and during repeated washing.
Frequently Asked Questions
What are the best materials for embroidered patches for clothing?
Embroidered patches for clothing perform best when you start with a sturdy base such as twill, canvas, denim, felt, or leather. The fabric base affects texture, stability, and wear on different garments; twill and canvas provide smooth embroidery surfaces, while felt offers a budget friendly option for simple designs. Pair this with an appropriate backing (iron on, sew on, or heat activated tape) and suitable stabilizers and thread choices to ensure durability and clean edges.
How do patch embroidery methods affect the durability and look of embroidered patches for clothing?
Patch embroidery methods influence both appearance and durability. Machine embroidery offers precise, repeatable fills and crisp outlines ideal for producing multiple patches with consistent density, while hand embroidery delivers artisanal texture for bespoke pieces. For clothing, use a robust stitch density, a merrow or satin edge, and a two step process (embroider on stabilizer backed fabric, then trim and apply backing) to maximize wear resistance.
How to apply patches to clothing?
Choose among iron on, sew on, or adhesive backed options. Prepare the garment: pre wash, lay flat, and position the patch. For iron on, test heat and press with steady pressure until the adhesive sets; for sew on, stitch around the edge with a tight satin or zigzag stitch; adhesive backed patches are best for temporary fixes but less durable for everyday wear.
What care steps are best for care for embroidered patches?
Care for embroidered patches: turn garments inside out, wash on a gentle cycle with cold to warm water, and avoid high heat in drying that can degrade adhesives or embroidery. Air dry or use low heat; avoid ironing directly on the patch; if you see loose threads, trim them; for heavy wear, reinforce borders with extra stitching or a merrow edge to preserve the patch.
How can I DIY embroidered patches for clothing?
DIY embroidered patches for clothing can be a fun project. Start with a simple shape and a limited color palette, then choose a backing such as stabilizer, tear-away, or cut-away, and select a patch embroidery method (machine vs hand). After embroidering, trim to the desired shape, finish the edge with a merrow border or satin stitch, and decide how you will apply the patch to clothing—iron on, sew on, or heat activated tape backed—depending on your needs.
What backing and edge finishes work best for embroidered patches for clothing?
Backing options include iron on, sew on, heat activated tape, or liquid adhesives, each with different durability and laundering compatibility. Edge finishes like merrowed borders (satin edge) or plain satin borders protect the stitch line and resist fraying; for high wear items, combine a sturdy backing with a merrow edge to maximize longevity.
| Aspect | Key Points |
|---|---|
| Materials for embroidered patches | Base fabrics: twill, canvas, denim, felt, leather. Twill/canvas offer durability and smooth embroidery surfaces; felt is soft and budget-friendly; fabric choice affects look and wear. Dense base is better for jeans/jackets; T-shirts/knits may need extra stabilization. |
| Backing options | Iron-on (quick, no inner access); sew-on (most secure for frequent washing); heat-activated tape; liquid adhesive (craft/temporary use). Choose backing based on garment and laundering; some backings fare better with repeated washing than others. |
| Thread choices | Polyester threads provide colorfastness and wash durability; rayon offers premium luster but may fade with washing; blends (poly/poly-cotton) improve abrasion resistance. Select thread type to match base fabric and backing to prevent puckering. |
| Stabilizers | Stabilizers support fabric during stitching and reduce distortion. Tear-away stabilizers are common for patches trimmed after embroidery; cut-away stabilizers stay on the patch for heavy wear and washing to preserve stitch integrity. |
| Edge finishing | Merrowed edges (overlock/satin borders) create durable, fray-resistant borders. Other options include plain satin borders or decorative stitches. Edge finish impacts aesthetics and longevity by preventing loose threads. |
| Patch embroidery methods | Machine embroidery is scalable and precise for repeats; hand embroidery offers artisanal control for bespoke patches. For large filled areas, use dense satin stitches; for fine lines, backstitch or split stitch. A common professional approach is embroider on stabilizer-backed fabric, then trim and add a backing (merrow border) for the final edge. |
| Patch shapes | Classic shapes include round, shield, and square; irregular or custom shapes can reinforce branding. For curved surfaces, use exportable templates and careful hooping to keep patches flat and stitches clean. |
| Application methods | Iron-on, sew-on, and adhesive-backed patches. Iron-on relies on heat-activated adhesive; sew-on involves stitching around the border; adhesive-backed is more temporary. Prep by pre-washing, flattening the area, and testing heat setup for iron-ons. |
| Care and maintenance | Turn garments inside out before washing; use cold or warm water on gentle cycles; dry on low heat or air-dry; iron on the back or with a protective cloth. Trim loose threads and reinforce borders for heavy wear to extend life. |
Summary
Embroidered patches for clothing open a world of expressive customization that can repair, personalize, and brand everyday wear. This descriptive overview highlights essential materials, techniques, and care practices so hobbyists and professional makers can create patches that look vibrant and endure frequent washing. By choosing the right base fabrics, backing, threads, stabilizers, and edge finishes, patches stay secure and resist fraying. With mindful application steps and thoughtful design, embroidered patches for clothing offer durable, stylish solutions for personal style, small businesses, and creative projects that stand up to daily life and long-term use.