Embroidered patches have moved from simple embellishment to bold style statements. DIY embroidered patches and patch customization ideas let you tailor jackets, bags, and tees to your unique taste. You’ll also learn how to sew patches on clothes, compare iron-on patches vs sew-on options, and understand what each method offers. Consider upcycling clothing with patches to refresh older garments while keeping your look cohesive. This guide provides practical steps and creative inspiration to plan, place, and care for patches so they last.
In broader terms, these stitched embellishments—also known as fabric badges, emblems, or decorative embroidery motifs—serve as quick, removable personalization. Exploring related concepts such as patch application, garment adornments, and textile branding helps readers discover alternatives to the classic patch. Whether you call them fabric emblems, needlework badges, or decorative patches, the idea remains the same: wearable art that can be swapped or expanded over time. Thinking in these terms supports a sustainable, customizable approach to fashion that many designers and DIY enthusiasts embrace.
What Are DIY Embroidered Patches and Why They Matter
Embroidered patches are decorative motifs stitched onto a fabric backing, turning simple materials into wearable art. DIY embroidered patches empower you to design motifs that reflect your hobbies, quotes, or memories, giving you a personal canvas you can carry from jacket to bag to tee. This approach makes patchwork feel intentional, expressive, and affordable, while keeping your wardrobe flexible and swap-friendly.
DIY embroidery also offers a tactile, satisfying path to creativity. By crafting patches yourself, you build a signature collection that travels across garments, creating a cohesive style without large-scale alterations. In short, embroidered patches become a portable art form you can curate and reuse wherever your outfit calls for a small, meaningful statement.
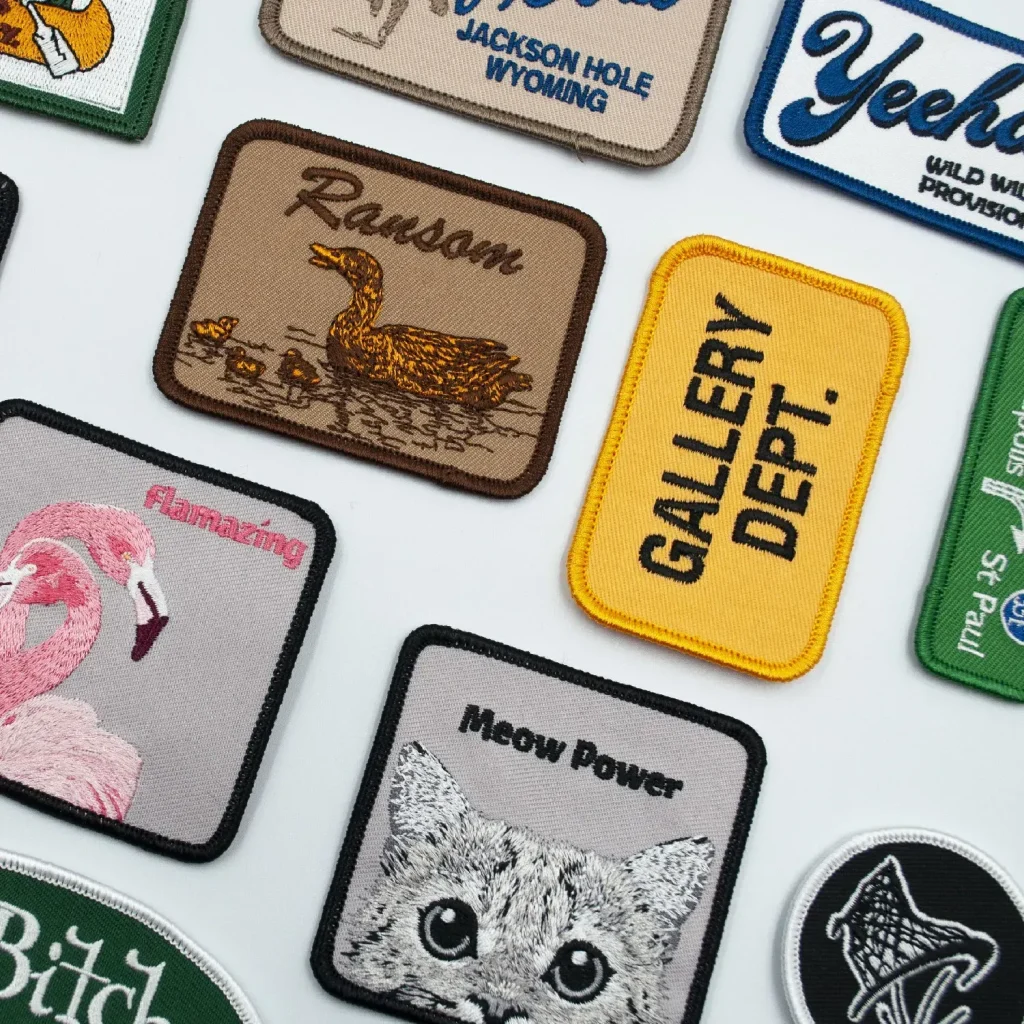
Patch Customization Ideas: Creative Ways to Personalize Your Wardrobe
Patch customization ideas span themes, colors, textures, and placement, letting you tailor each piece to your mood or season. Build themed collections around hobbies, travel memories, or favorite quotes to simplify mixing and matching across outfits. The result is a versatile library that makes every ensemble feel fresh and intentional.
Experiment with color-blocked patches, mixed textures (such as enamel or leather patches alongside embroidery), and strategic placements on sleeves, pockets, or back panels. By planning how patches interact across garments, you can create a cohesive wardrobe narrative that’s easy to expand with new motifs or limited-edition packs.
Iron-On Patches vs Sew-On: Choosing the Best Attachment Method
Iron-on patches use a heat-activated adhesive on the back, offering quick, removable personalization that’s ideal for testing looks or updating items you don’t plan to wear forever. When choosing iron-on patches, apply with a high-heat, no-steam iron and a pressing cloth to protect both the patch and fabric.
Sew-on patches, on the other hand, are typically more durable and less prone to loosening after washing. They’re the preferred choice for heavy fabrics or garments subjected to active movement. Whether you sew by hand or machine, a tight edge stitch around the patch ensures longevity and a clean, high-end finish.
How to Sew Patches on Clothes: A Step-by-Step Guide
How to sew patches on clothes begins with careful alignment and pinning the patch in place. Whether you’re using a sewing machine or stitching by hand, the key is a secure perimeter that won’t unravel with wear.
Next, choose a strong stitch around the edge—backstitch or a tight satin stitch works well for durability. Finish with a secure knot or backstitch, trim any loose threads, and consider a light edge sealant to prevent fraying on delicate fabrics.
Upcycling Clothing with Patches: Sustainable Style with Embroidered Patches
Upcycling clothing with patches blends sustainability with style, breathing new life into older garments and reducing waste. Embroidered patches offer a creative way to revive worn jackets, jeans, and bags, turning repairs into design moments rather than reminders of wear.
Using patches for upcycling also makes fashion more approachable and budget-friendly. By swapping in new motifs over time and rotating patches across pieces, you can maintain a fresh, expressive wardrobe while extending the life of existing fabrics and materials.
Care, Placement, and Longevity: Keeping Your Patch Collection Fresh
Care and maintenance are essential to preserve color, texture, and adhesion. For embroidered patches, washing inside-out and choosing gentle cycles helps preserve thread color and backing, while air-drying minimizes heat damage.
Placement matters as much as the patch itself. Consider garment type—denim jackets benefit from bold back-center patches or sleeve accents, while backpacks and hats respond to smaller, strategically placed motifs. When issues arise, such as peeling or fraying, address them with proper stabilizers, careful stitching, and, if needed, a brief heat-set to re-secure patches.
Frequently Asked Questions
What are embroidered patches and why are they a smart wardrobe upgrade?
Embroidered patches are decorative motifs stitched onto a fabric backing, adding texture, color, and durability. They offer an affordable, versatile way to personalize your wardrobe, and you can swap them between pieces or build a signature collection.
What are patch customization ideas for embroidered patches to personalize outfits?
Patch customization ideas include themed collections around hobbies or quotes, color-blocked combos on denim or backpacks, and mixing textures with pins or leather patches. Trying different placements—shoulders, sleeves, and backs—helps you craft a cohesive, personal look.
Which option is better for embroidered patches: iron-on patches vs sew-on, and how to sew patches on clothes effectively?
Iron-on patches are quick and removable, while sew-on patches offer greater durability. For sewing patches on clothes, stitch around the edge with a backstitch or satin stitch to ensure a secure finish, and consider reinforcing iron-on patches with a few stitches for long wear.
How can you get started with DIY embroidered patches and use them in upcycling clothing with patches?
DIY embroidered patches start with a motif, the right backing, and either machine or hand embroidery. You’ll learn design, stability with stabilizers, and finishing touches—a perfect entry into upcycling clothing with patches.
Where should you place embroidered patches on common garments for the best effect?
Placement matters: for denim jackets, a large back centerpiece or several small patches on sleeves; jeans, knees or thighs; bags on the central panel; hats with small patches near the brim; sneakers on canvas. Aim for balance and contrast.
What care steps help embroidered patches last longer, especially when upcycling clothing with patches?
Wash garments inside-out on gentle cycles, air-dry when possible, and avoid direct heat on patches. For iron-on patches, avoid steam and consider light resewing for longevity, a key when upcycling clothing with patches.
| Topic | Key Points | Notes / Examples |
|---|---|---|
| What are embroidered patches? | Decorative motifs stitched onto fabric backing; thread-based embroidery on a sturdy base; cut into shapes; finished with a backing for easy attachment; add texture, color depth, and durability; portable artwork that can be swapped or collected. | Used on clothing and accessories; available in various shapes; can form a signature collection. |
| Why they are a smart wardrobe upgrade | Affordable, versatile, and expressive without permanent changes; celebrate hobbies, quotes, bands, memories, or inside jokes; sustainable by reviving old garments and enabling mix-and-match capsules. | Ideal on jackets, jeans, hats, bags, sneakers; supports personal style without dyeing or large-scale alterations. |
| DIY patches: Getting started | Tools/materials, design/digitizing, backing/stabilizers, size/shape, execution, finishing. | Plan a motif, decide machine or hand embroidery, choose backing, pick patch size (1–2 inches up to 4–5 inches). |
| Iron-On vs Sew-On: Pros and Cons | Iron-on: quick to apply, removable, heat-activated adhesive; good for temporary looks. Sew-on: more durable, secure after washing; better for heavy fabrics. | Test adhesion, consider garment type and wash routine when choosing. |
| Patch Customization Ideas | Themed collections, color-blocked patches, mixed textures, placement play, custom graphics, upcycling focus. | Mix across garments to tell a cohesive story or switch patches to refresh looks. |
| Where to Get Patches | Patch options range from big-box retailers to independent creators and handmade sellers; consider quality, backing type, sizing, and intended style. | Look for patch packs to test ideas before committing to a larger collection. |
| Applying Patches | Iron-on: prep fabric, position patch, apply with hot iron through cloth for 20–30 seconds, cool and test; reinforce with light stitching if needed. Sew-on: pin, stitch around edge with backstitch/satin stitch, secure with a knot. | Follow care instructions to maximize lifespan; consider extra stitches for durability. |
| Care & Maintenance | Wash inside out on gentle cycle; air-dry when possible; if ironing, avoid direct contact with patch; minimize sun exposure and rotate patches to reduce wear. | Use heat with care to preserve colors and backing; follow patch-specific guidelines. |
| Patch Placement by Garment Type | Denim jackets: large back centerpiece or several sleeves; Jeans: thigh/knee; Backpacks: central panel or strap; Hats: near brim or side; Sneakers: canvas patches coordinated with outfit. | Aim for balance and visibility; symmetry often reads classic, asymmetry reads contemporary. |
| Sustainability & Upcycling | Using patches to refresh older garments extends life, reduces waste, and lowers new purchases; budget-friendly entry into fashion experimentation. | Aligns with slow fashion goals and personal creativity. |
| Common Mistakes & Troubleshooting | Patch peeling after washing; buckling or distortion; uneven edges; color bleeding. Solutions: proper backing, additional stitching, stabilizers, test colorfastness. | Pre-wash fabrics and test patches on similar materials when in doubt. |
| Your Patch Collection: Organization | Label by theme or color family; store in binders with sleeves, boxes, or a digital catalog to plan outfits and rotation. | A well-organized set makes mixing and matching effortless. |
Summary
Embroidered patches are a versatile form of wearable art that transform simple garments into personal statements. They enable DIY creativity, sustainable upcycling, and easy style updates, whether you choose iron-on for quick changes or sew-on for durability, and they work across jackets, jeans, hats, bags, sneakers, and more. Start with a single standout patch or build a themed collection to explore the wide, expressive world of embroidered patches.