Custom Shirts offer a canvas for self-expression, brand storytelling, and a growing collection of custom shirt design ideas. Whether you’re creating gifts, team uniforms, or personal statements, you’ll discover how easy it is to design your own tee—even DIY custom shirts at home. This guide blends practical steps with inspiration for personalized shirts, so you can balance style with wearability. From layout basics to print-ready tweaks, you’ll pick up essential tee design tips that translate from screen to fabric. The path blends thoughtful material choices with affordable production options to turn ideas into wearable, confidence-boosting results.
Beyond the surface, the concept translates into tee customization and made-to-order apparel, where a plain tee becomes branded or personal expression. This LSI-aligned perspective highlights graphic placement, typography, and color palettes as core elements of personalized tees and garment branding. Whether you’re sketching ideas at home or preparing for a small-batch launch, the approach remains flexible, cost-conscious, and production-aware.
Custom Shirts: Defining purpose and audience for targeted designs
Before you start sketching ideas, pin down the purpose of your Custom Shirts project and who will wear them. Are you crafting a gift, building brand awareness, or launching a limited-edition run for fans? Defining the audience—their age, interests, and style preferences—will influence color choices, typography, and the scale of your graphics. This clarity helps ensure your designs align with real-world wearability and impact, channeling your efforts into effective custom shirt design ideas.
With purpose defined, translate the target wearer into concrete design decisions. Consider whether bold, high-contrast palettes suit the goal or softer tones better convey a personal keepsake. This stage ties directly to the broader concept of personalized shirts, ensuring every design choice supports how the shirt will be seen and worn, not just how it looks on a screen.
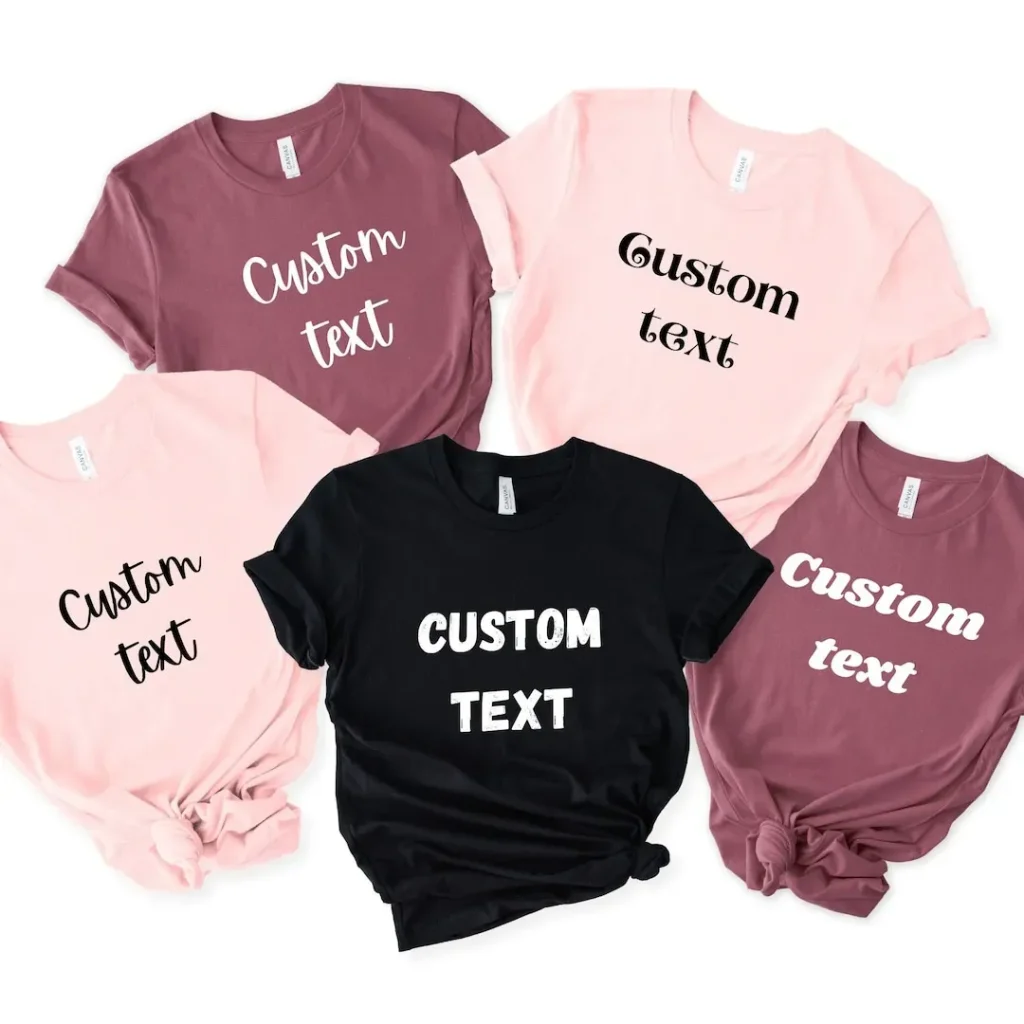
Generating design ideas with mood boards and custom shirt design ideas
Kick off with a mood board that captures color schemes, typography, and imagery you want to explore for your Custom Shirts project. Gather phrases, icons, and logos that reflect your message, and use this collection to fuel your custom shirt design ideas. A well-curated mood board helps you visualize how elements work together before committing to a final concept.
As you brainstorm, test variations—centered emblems, sleeve badges, or bold all-over prints—to see how each idea scales across sizes. Document multiple concepts so you have options when moving to mockups, ensuring your designs stay flexible and ready for feedback or iteration before production.
Choosing the shirt style and material for vibrant personalized shirts
Fabric and cut dramatically affect print quality and comfort. Cotton blends are print-friendly and forgiving, while 100% cotton yields vibrant colors but may shrink after washing. For performance or sports tees, consider polyester blends for moisture-wicking. When planning personalized shirts, imagine how your ideas translate on different fabrics and weights, and weigh the trade-offs between feel, durability, and print fidelity.
Fit, weight, and preparation matter as you evaluate options. Request swatches or samples if you’re mass-producing, so you can verify how your design transfers onto the chosen material. This hands-on step helps ensure your DIY custom shirts or brand projects look consistent across sizes and appearance remains true from first wear to repeated washes.
Design fundamentals for readability and impact: tee design tips and typography
Strong tee designs balance legibility with visual interest. Use high-contrast color combinations and limit font families to two for clarity. Place essential elements within the safe print area to avoid distortion during sewing or washing, and consider how text reads from a distance. This is where practical tee design tips shape your final look, ensuring the concept remains legible on real garments.
When typography is part of the message, pay attention to letter height and tracking to preserve readability across sizes. If your concept includes a slogan or tagline, keep it concise and easy to read, especially at smaller scales. Use hierarchy—larger headlines with supporting copy—to guide the viewer’s eye and reinforce your intended emphasis.
Picking a printing method and production path for DIY custom shirts and professional services
Printing technology defines both result and cost. Screen printing excels in bold, durable colors for larger runs, while DTG (direct-to-garment) handles detailed imagery and small quantities with faster turnaround. Heat transfer can be cost-effective for one-off designs or photography-heavy art, though durability may vary with wear. If you’re new to DIY custom shirts, start with one manageable method and expand as you gain experience.
For larger projects or polished results, partnering with a print shop can ensure consistency across sizes and batches. Regardless of path, prepare a clear file: vector artwork for logos and high-resolution raster images for photos to avoid pixelation and color shift. This planning aligns with the practical mindset of producing high-quality Custom Shirts without surprises in printing or delivery.
Mockups, sizing, and layout planning for design your own tee success
Mockups are essential to preview how the design sits on different garment sizes and colors. Use digital templates or free mockup generators to visualize placement, scale, and alignment. Check legibility on both small screens and when viewed from a distance, ensuring your concept translates well to real-world wear.
Create a size-and-placement chart to guide production, and ensure the design scales cleanly from XS to XXL without crowding or gaps. This step turns your ideas into a practical, shop-ready product, helping ensure your design your own tee concept delivers consistent results across the full range of wearers.
Frequently Asked Questions
What are some custom shirt design ideas for Custom Shirts?
Great starting points for Custom Shirts include a bold central emblem, a club mascot, or a witty slogan with high-contrast typography. For custom shirt design ideas, consider personalized shirts by adding names or initials to create a personal touch. When testing ideas, use a design your own tee approach to check layout and scalability, guided by solid tee design tips like hierarchy and spacing.
How can I make DIY custom shirts at home using design your own tee concepts?
With DIY custom shirts, choose a printing method first—iron-on transfers, vinyl, or basic screen printing. Use design your own tee concepts to sketch the layout, then mock it up on a template before printing. Keep the color palette simple and the graphics clear to support readability in DIY projects. Follow basic safety and fabric-care guidelines tied to your chosen method.
What factors should I consider when choosing materials for Custom Shirts and personalized shirts?
Material choice affects how the print looks and feels. For Custom Shirts, cotton blends are print-friendly and comfortable, while 100% cotton yields vibrant colors but may shrink. Polyester blends work well for performance wear. Consider fabric weight, fit, and how the printing method interacts with the material to keep personalized shirts durable over time.
What are the best tee design tips for readability and impact on Custom Shirts?
Key tee design tips focus on readability and impact. Use high-contrast color pairs, limit font families to two, and keep essential elements within the safe print area. Consider letter height and tracking for legibility from a distance, and apply a clear hierarchy so the main message stands out on Custom Shirts. Keep these tee design tips in mind to balance style with legibility.
Which printing method should I choose for Custom Shirts—DIY or professional?
Printing method choice depends on project size and budget. Screen printing gives vibrant color and durability for larger runs; DTG works well for detailed images and small batches. Heat transfer can be cost-effective for quick one-offs, though it may crack over time. For DIY custom shirts, start with one method you can manage at home, then expand. For brand projects, partner with a print shop to ensure consistency across sizes.
How can I preview, size, and lay out my Custom Shirts design before printing?
Use mockups and digital templates to preview how the design sits on different shirt colors and sizes. Create a size-and-placement chart to guide production and test legibility from a distance. Ensure the design scales cleanly from XS to XXL without crowding. This approach aligns with custom shirt design ideas and helps you deliver shop-ready, personalized shirts.
| Aspect | Key Points |
|---|---|
| Purpose & Audience |
|
| Design Ideas & Concepts |
|
| Shirt Style & Material |
|
| Design Fundamentals for Readability & Impact |
|
| Picking a Printing Method & Production Path |
|
| Mockups, Sizing & Layout Planning |
|
| Budgeting, Timelines & Production Considerations |
|
| Care, Longevity & Post-Production Considerations |
|
| Real-world Examples & Inspiration |
|
Summary
Custom Shirts are a rewarding blend of creativity, planning, and practical execution. When you define the purpose and audience, brainstorm strong design ideas, select the right materials, and choose an effective print path, you can produce personalized shirts that look polished and professional. Mockups, careful layout, and realistic budgeting keep projects on track, while thoughtful care guidance extends the life of your creations. Whether for a team, event, or personal expression, start with a clear concept, test ideas, and iterate until you reach a shirt you’re proud to wear. With patience and the right approach, Custom Shirts become conversation starters, brand ambassadors, or wearable art.